Tokengated Website with polkadot.js and next-auth
In recent years, tokengated websites have become an increasingly popular way to control access to sensitive information or functionality on a website. With web3 that can now be done without username + password authentication but instead using a wallet and a browser extension.
The use cases for tokengated websites are diverse, ranging from user authentication and authorization, to paid content, to API access control. In the context of Non-Fungible Tokens (NFTs) or other crypto tokens, tokengated websites can be used to provide exclusive access to content or functionality based on the ownership of these tokens. This could include early access to new releases, special events, or other benefits.
In this tutorial, we will walk through the process of creating a tokengated website that is specifically designed to work with NFTs or other crypto tokens. We will cover the basics of token authentication in substrate based chains with the polkadot js API and how to create exclusive content and functionality that is only accessible to users who own specific tokens.
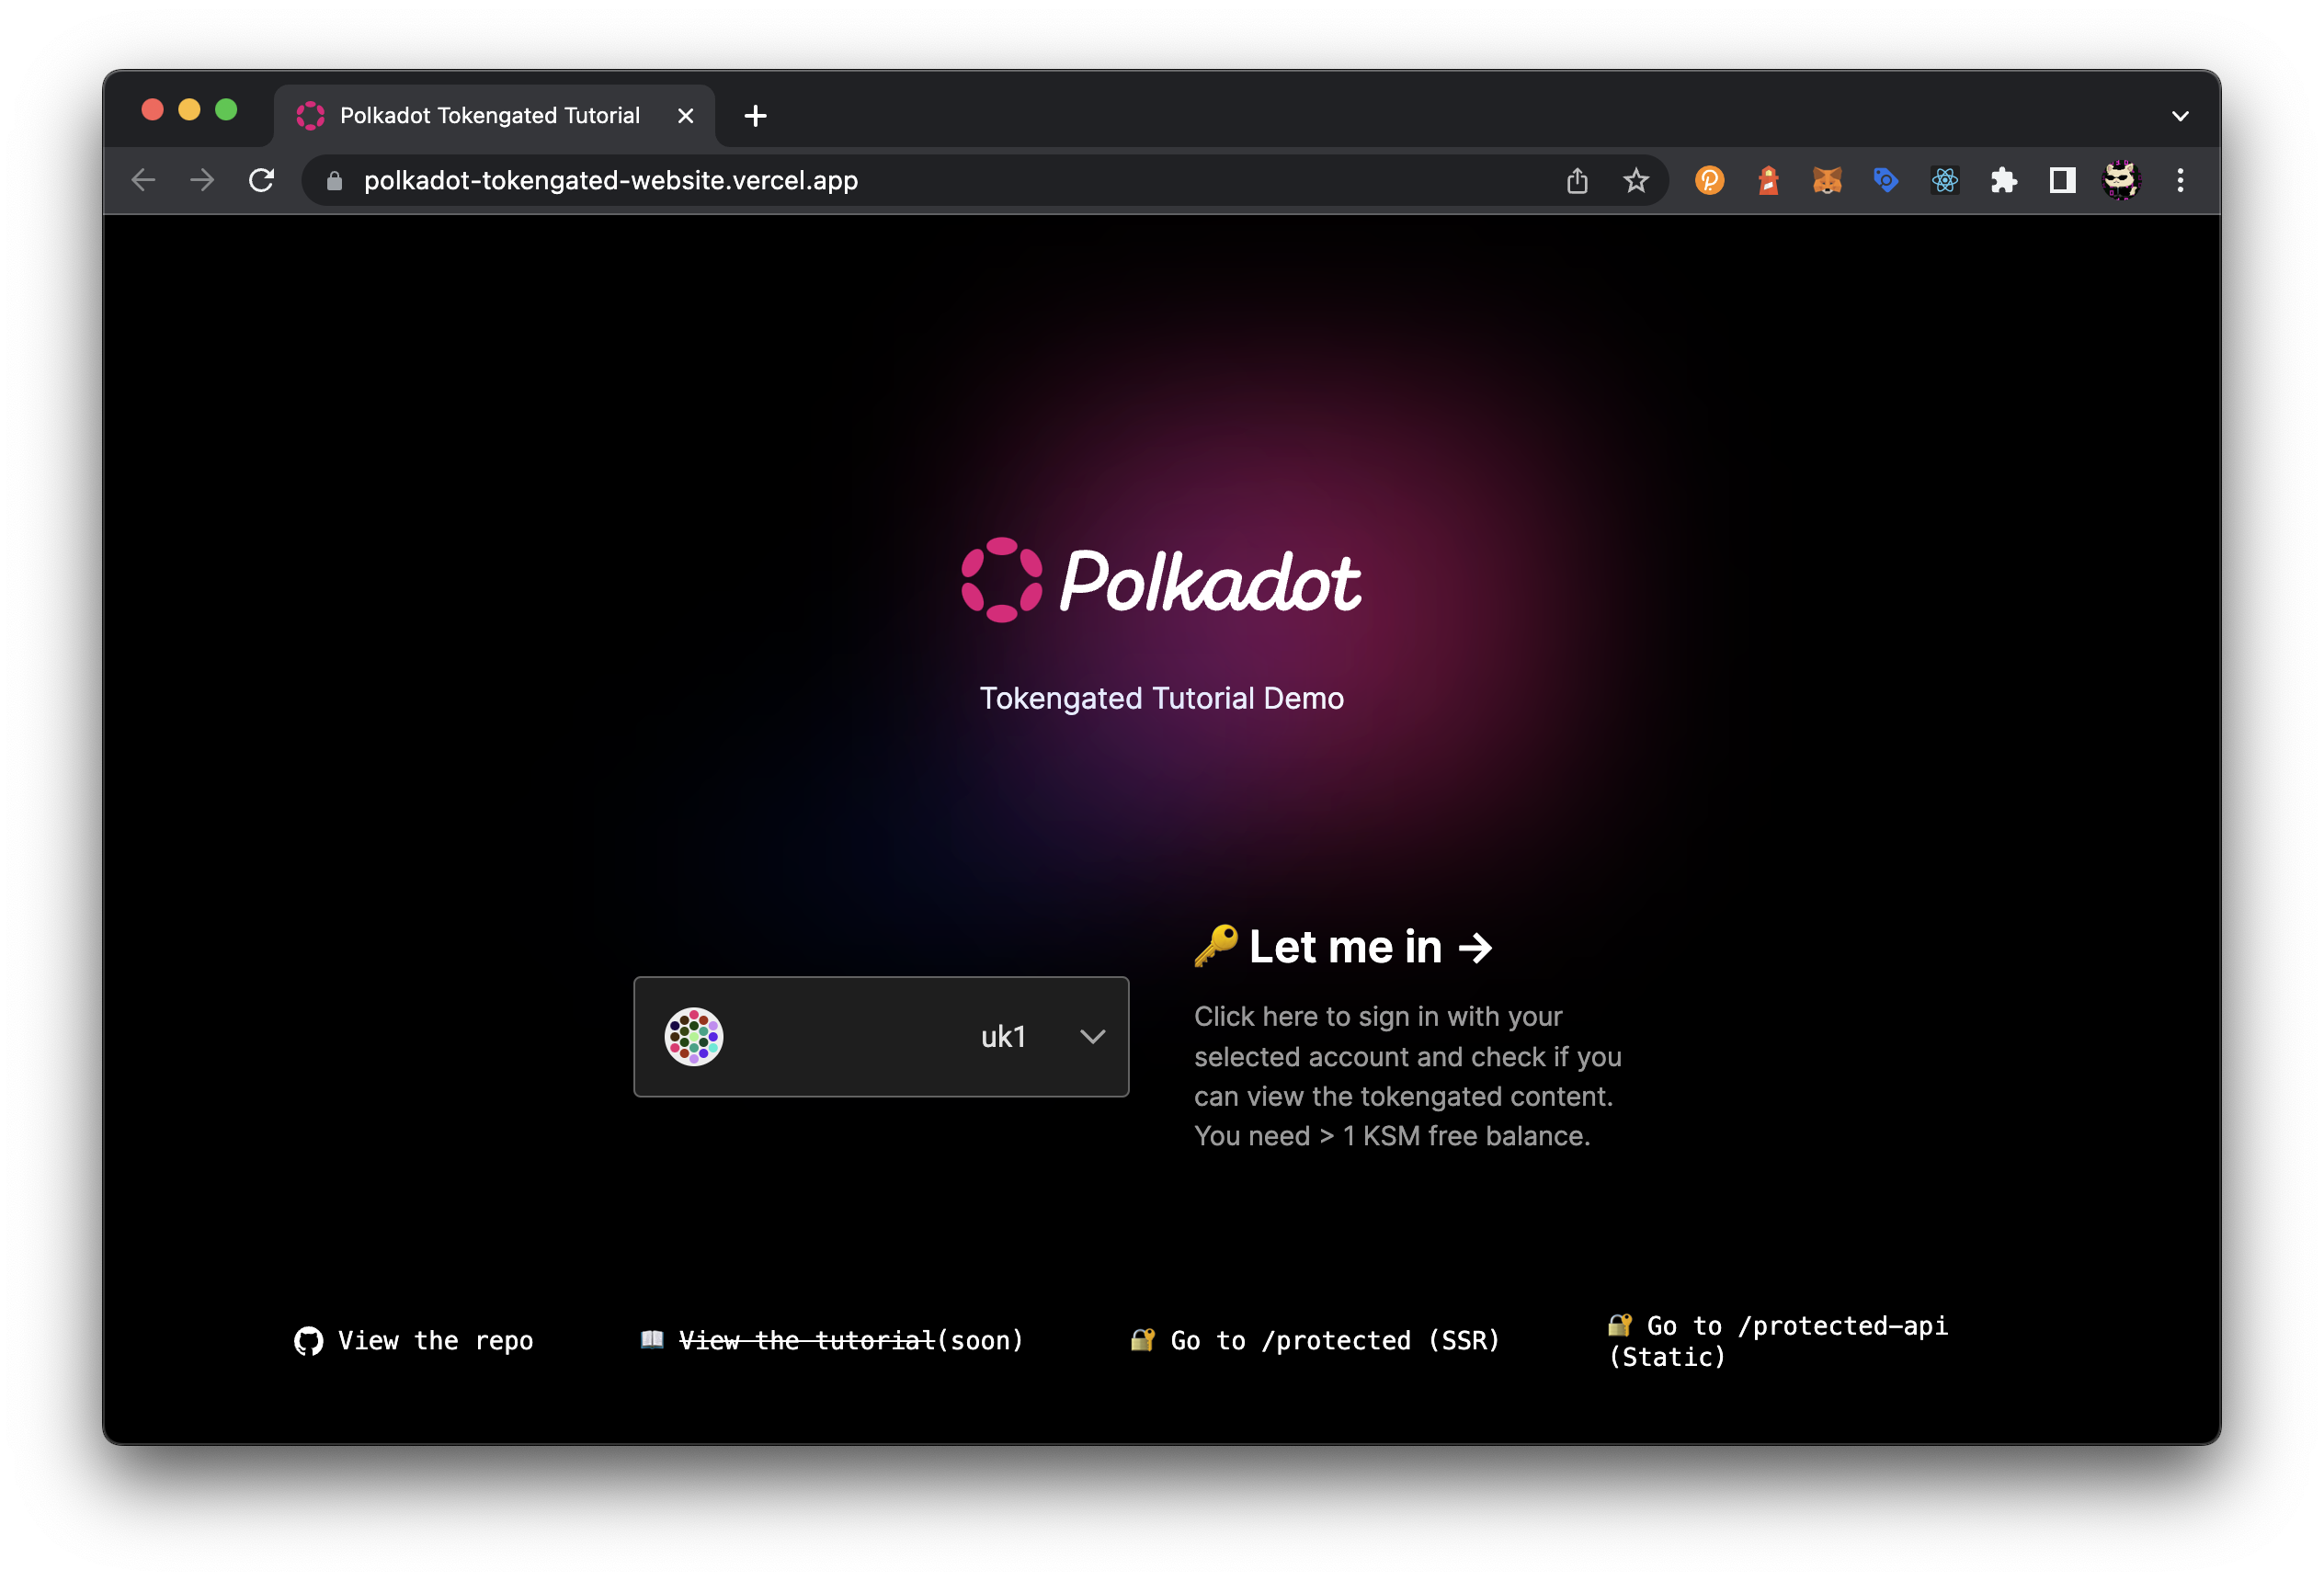
What you will build

Time of completion
- 2-4 hours
What you'll learn
- To build a nice user interface for account selection
- How to use the polkadot browser extension with next.js
- How to write a convenient hook to just
usePolkadotExtension - How to use
Contextand aContextProviderto make all accounts available to your components - How to work with next-auth to create a custom
CredentialsProviderthat authenticates users based on their signature.
Prerequisites
- Basic react + next.js knowledge
- Basic knowledge of JSON Web Tokens (JWT)
- Basic knowledge of the polkadot js API
Author
Niklas Plessing is a freelance frontend developer. He codes anything polkadot related at the moment and has graduated in the Polkadot Blockchain Academy 2023 in Buenos Aires.